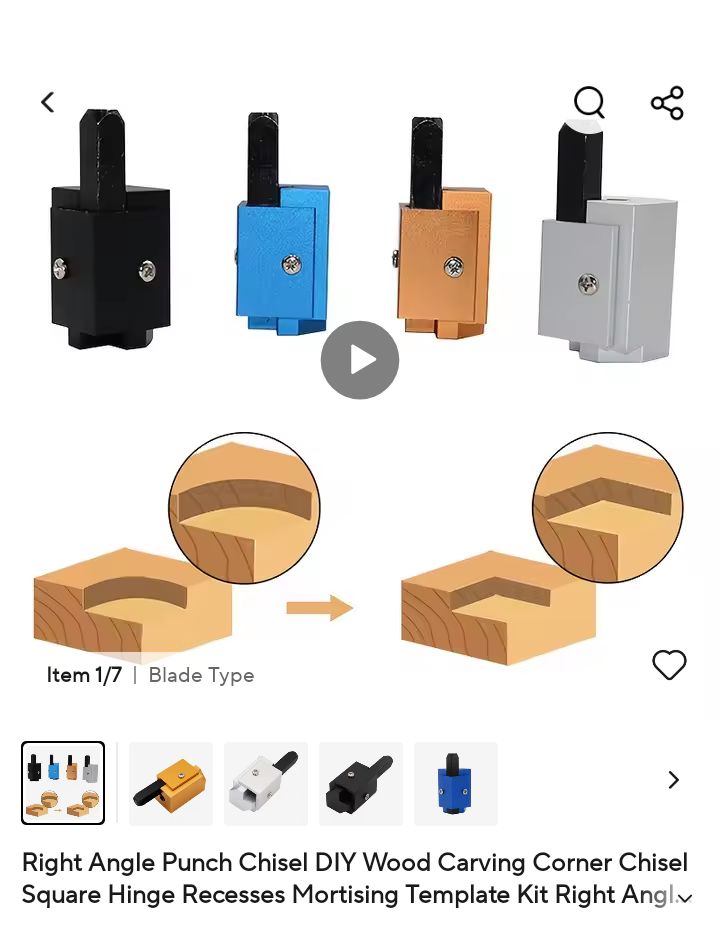
I am trying to carve a sign with raised letters and a raised border. I am using a 1/4" hogging bit for the material removal and a 60 v-bit for the letters. Running the simulator I realize the inside wall of the border won’t be 90 degrees but will be slopped with the 60 v-bit. How do I keep straight walls on the border?
Could you make two files? One for the hogging and finish of the sign and a second for just cutting the letters?
There’s no way to have Easel use the straight bit in this setup. As Martin said, you have to have two workpieces in the project, one to handle the V-carving section, and one to handle the rest.
You’ll have to experiment a bit on what works best for you, but I recommend having one workpiece that focuses on the lettering portion, and ignores the outer portions, and a second that only works on the outer portion, with a white rectangle (or rectangles) over top where the v-carve bit worked.
If you do all your design work in a single workpiece, you can get everything aligned, then duplicate that workpiece and delete the parts that aren’t used. It works OK as long as you don’t move anything after duplicating.
I’m still hoping they bring us layers in the future, so we can configure multiple cut profiles within the same workpiece.
With the release of the new Outline Bits features, you might be able to do this all on one workpiece. The idea would be to add a 3rd bit (outline bit) that you’ll use to straighten the inner wall and also cut the sign out of the stock with 2 separate outline cuts. Something like what I’ve quickly thrown together here in this Easel project (note I haven’t test carved this yet):
I make family name wall hangings in the same way. However I don’t think you can get to what you want. The v bit gives you crisp corners although sloped sides, If you use any other bit yes you’ll have a vertical border but a rounded corner. I think the closest you might get is shop around for some more acute v bits. I have some 10 degree ones, excellent for detail engraving but might also give you the compromise as being quite close to vertical.
