40" x 44" Just needs some clear coat and will be done. I rotated the ring for the edge so they joints did not overlap. FYI painting acrylic paints over gloss black SUCKS!

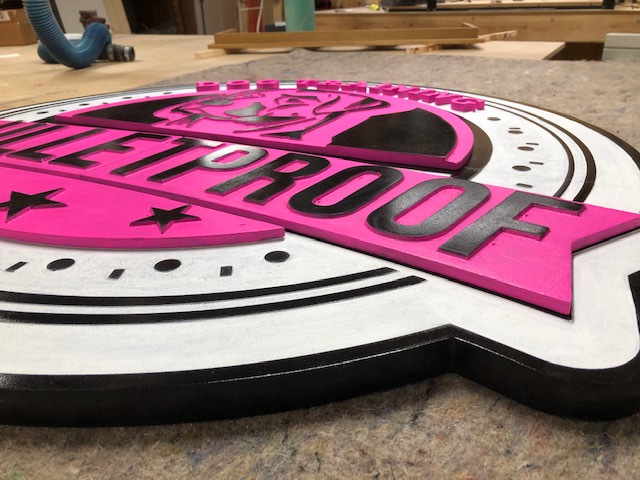
40" x 44" Just needs some clear coat and will be done. I rotated the ring for the edge so they joints did not overlap. FYI painting acrylic paints over gloss black SUCKS!
I can imagine on the painting pain, but the results are tremendous.
Steve, this sign looks fantastic! Well done!
Amazing job(as always) I love how you continue to create new ideas and I love to watch them come to life. Thanks for sharing.
Still need to clear coat the Man Cave sign. Dog feeder was picked up yesterday. I hate making projects like that by the time you buy materials and build them cheaper to buy the prefab ones. She liked it thats all that matters. Gave me something to do.


A man cave in the middle of quarantine  … Cooper is a smart man
How did you do the finish? It’s beautiful!
Great job, what type of wood is that?
I used two of the glued edge craft boards from Lowes, 16x72 glued up and trimmed to 30x60. For painting took a dry rag and dabbed white paint on in sections and rubbed it in until it looked smooth and dry, i did not get a complete coat of paint some of the wood very lightly showed through. Then I dabbed the grey on and rubbed it in until i was happy with the pattern same technique as the white but at the very end i used a damp cloth to smooth out areas even more.
I used two cans of Rustoleum gloss clear coat to put a finish on it before cutting it on the X-carve. I then painted in the letters a couple at a time and used a damp rag to wipe off any paint that was on the surface of the board. Gave it a good once over to clean it up then put another can of Rustoleum gloss clear on the project.
Been working on this behemoth since November, Finally got it out of the basement on Friday and have gotten started on rough carving it. Eventually will use the X carve to make a clock face. Got a long way to go. Need to do some 40 grit sanding some Epoxy work then ALOT more sanding and sculpting after that. Epoxy will be used to fill in the voids from the glue up.

Interesting job that. What made you decide to go for a more composite build rather than two or three full size sheets layed on top of each other to get the desired thickness? (Presume that makes sense)
Wow! Behemoth is right. Super interesting and clever. Can’t wait to see final … assuming you don’t run the world out of sandpaper in the interim!
THAT is very interesting.
Looking forward to seeing the finished result.
its around 18" thick, I processed down 2x4’s then started gluing them up. Still have a lot of sculpting and sanding to do, we shall see I have a vision as crazy as it sounds.
Steve look up Jackman works on YouTube… he has done some big wood sculpting but I forget the product name he uses… it attaches right to the grinder. should be a lot faster than the sandpaper
I have three carving heads and an array of flap disks, coming along well have it ready for epoxy now then more final shaping and more sanding. I have watched most of Jackmans videos good stuff there.
Been making ear savers three sets sets yesterday, material is free not sure what it is, it is packing material we get at work with our printing plates so its basically trash.


Here is the files with several variations, the one I am making was given to me by Jim Dawson off a Facebook Group.
Time to get back in the shop, been busy the last two weeks. Got about 7 days of work in building this. Now a couple of single person swings. Going to cover the one side for a grill center and outdoor table and bar.


Very impressive.
I like the design.


